Finalizing
Model Documentation
Make qualitative edits
(Scroll down for the full instructions.)
Try it live on the next page.
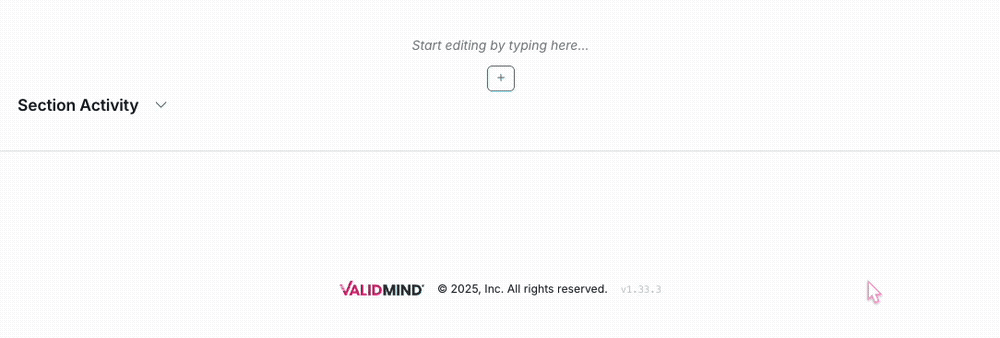
In any section of your model documentation, hover your mouse over the space where you want your new block to go until a horizontal line with a sign appears that indicates you can insert a new block:
After adding the block to your documentation, generate a content draft with AI using the content editing toolbar:
Click beta (Generate Text with AI) in the toolbar while editing a content block.
Enter an optional prompt to guide the output, then click Generate Content to compose a draft for review.
Review the draft composed by the ValidMind AI Content Builder for accuracy and relevance, then:
- Click Insert to document to add the draft into your content block.
- Or, submit a different prompt in the dialogue box and click Send to regenerate a different draft.
After you insert the AI-generated draft, click on the text box to make the necessary edits and adjustments to your copy, ensure that content is in compliance with the quality guidelines outlined by your organization.
You can also use the content editing toolbar to revise the description of test results to explain the changes made to the raw data and the reasons behind them.
For example:
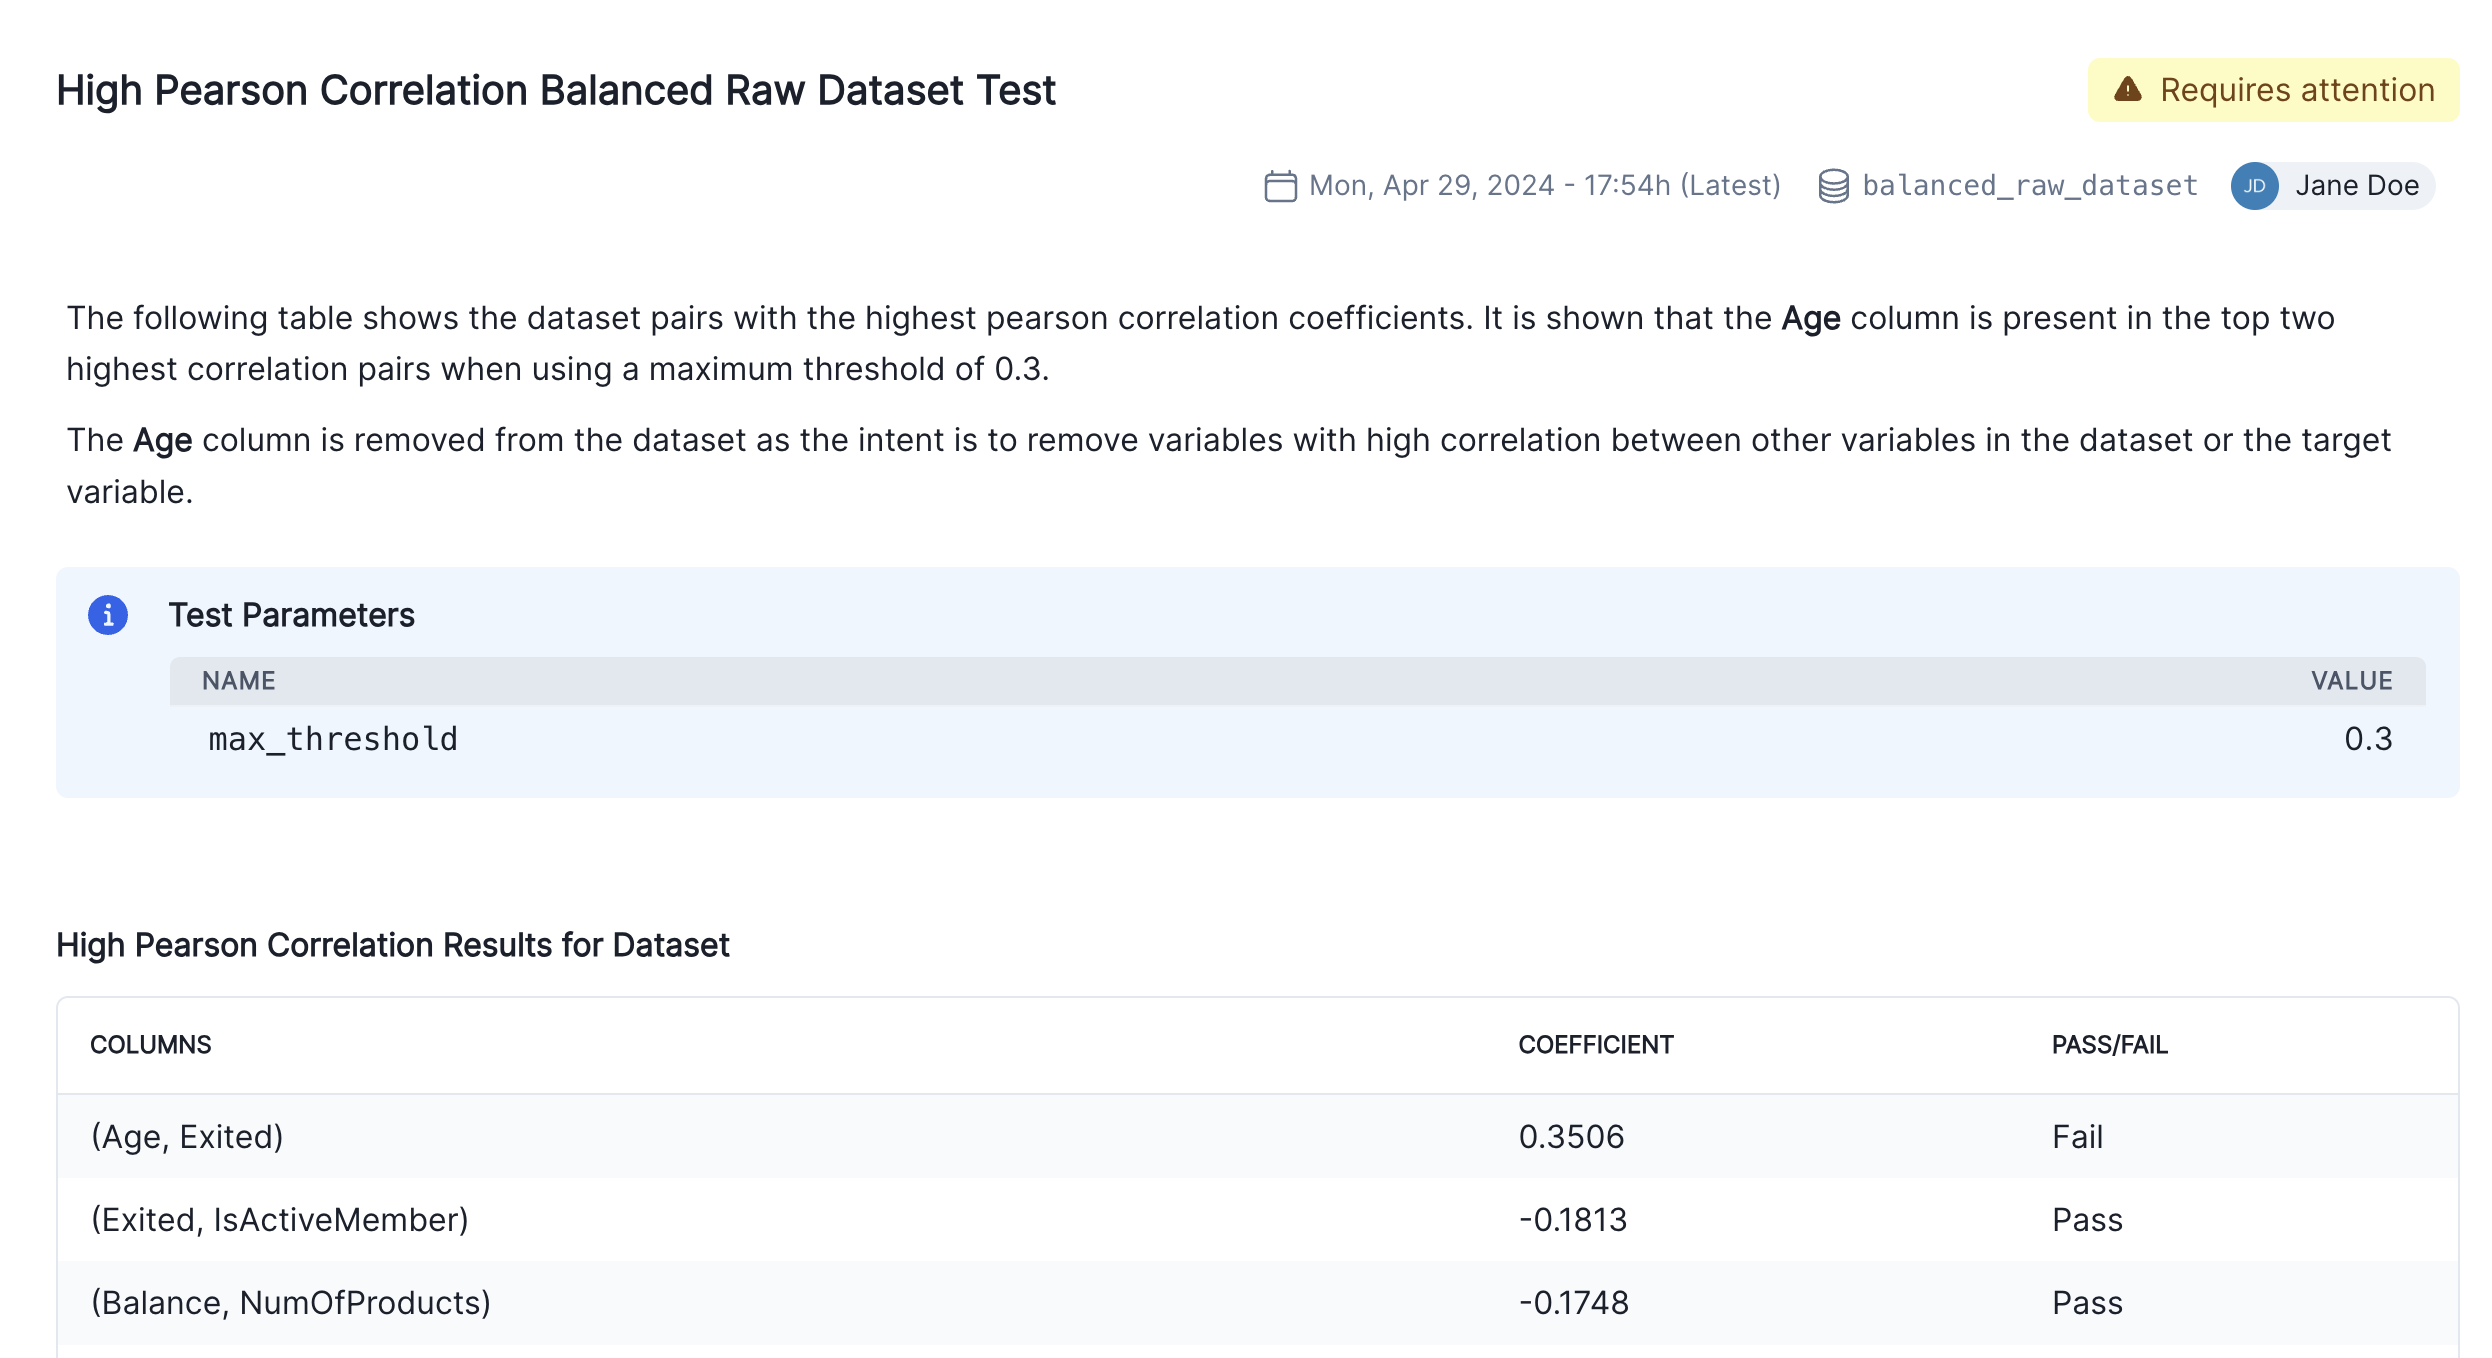
Within your model documentation, locate the Data Preparation section and click on 2.3 Correlations and Interactions to expand that section.
Click on the text to edit the description for our individually inserted
HighPearsonCorrelation:balanced_raw_datasettest:
Use the Document Checker
(Scroll down for the full instructions.)
Try it live on the next page.
In the left sidebar, click Inventory.
Select a model or find your model by applying a filter or searching for it.
In the left sidebar that appears for your model, click Documents and select Documentation.
Locate the Document Checker box on the right and click Check Document.
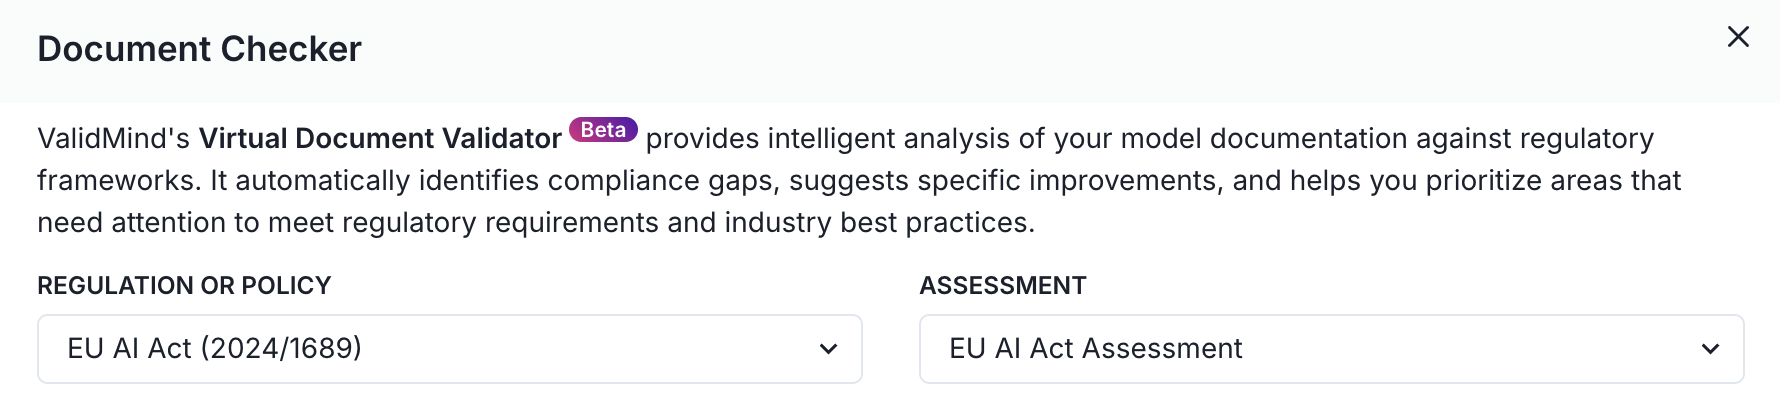
In the Document Checker modal, select a regulation and an associated assessment from the drop-down menus to to check your document against:
![A screenshot showing the REGULATION OR POLICY and ASSESSMENT dropdowns in the Document Checker]()
Example regulation or policy and assessment selected to check a document against A list of regulation-based questions appears for your review.
Scroll to the bottom and click Check Document.
The Virtual Document Validator analyzes your documentation, identifies gaps, and generates recommendations for specific questions that you review in the next step.
- After the Document Checker has completed its analysis, expand individual questions or click Expand All to look through the observations:
Gap Identified — A question that is not addressed and requires attention.
Partial Gap — A question that is partially addressed and requires attention.
No Significant Gaps — A question that is fully addressed.
Review questions that require attention. Each question includes:
- Observation — An analysis of how the documentation currently addresses the question
- Recommendation — If suggested, guidance on how to revise the documentation to better address the question
Use the feedback provided by the Virtual Document Validator to review the appropriate sections of your documentation and decide what revisions should be made. Or, if you have run the Document Checker before and were just checking that all documentation issues have been addressed, submit your model for validation.
