Work with test results
Once generated via the ValidMind Library, view and add the test results to your model documentation in the ValidMind Platform.
Prerequisites
Add test results
In the left sidebar, click Inventory.
Select a model or find your model by applying a filter or searching for it.4
In the left sidebar that appears for your model, under Documents select Documentation, Validation Report, or Ongoing Monitoring.5
Click on a section header to expand that section and add content.
Hover your mouse over the space where you want your new block to go until a horizontal line with a sign appears that indicates you can insert a new block:

Adding a content block in the ValidMind Platform Click and then select Test-Driven6 under from library.
- By default, the Developer role can add test-driven blocks within model documentation or ongoing-monitoring plans.
- By default, the Validator role can add test-driven blocks within validation reports.
Select test results:
- Choose from available VM Library (out-of-the-box) or Custom tests under test-driven in the left sidebar of the test selection modal.
- Use Search by name on the top-left to locate specific test results.
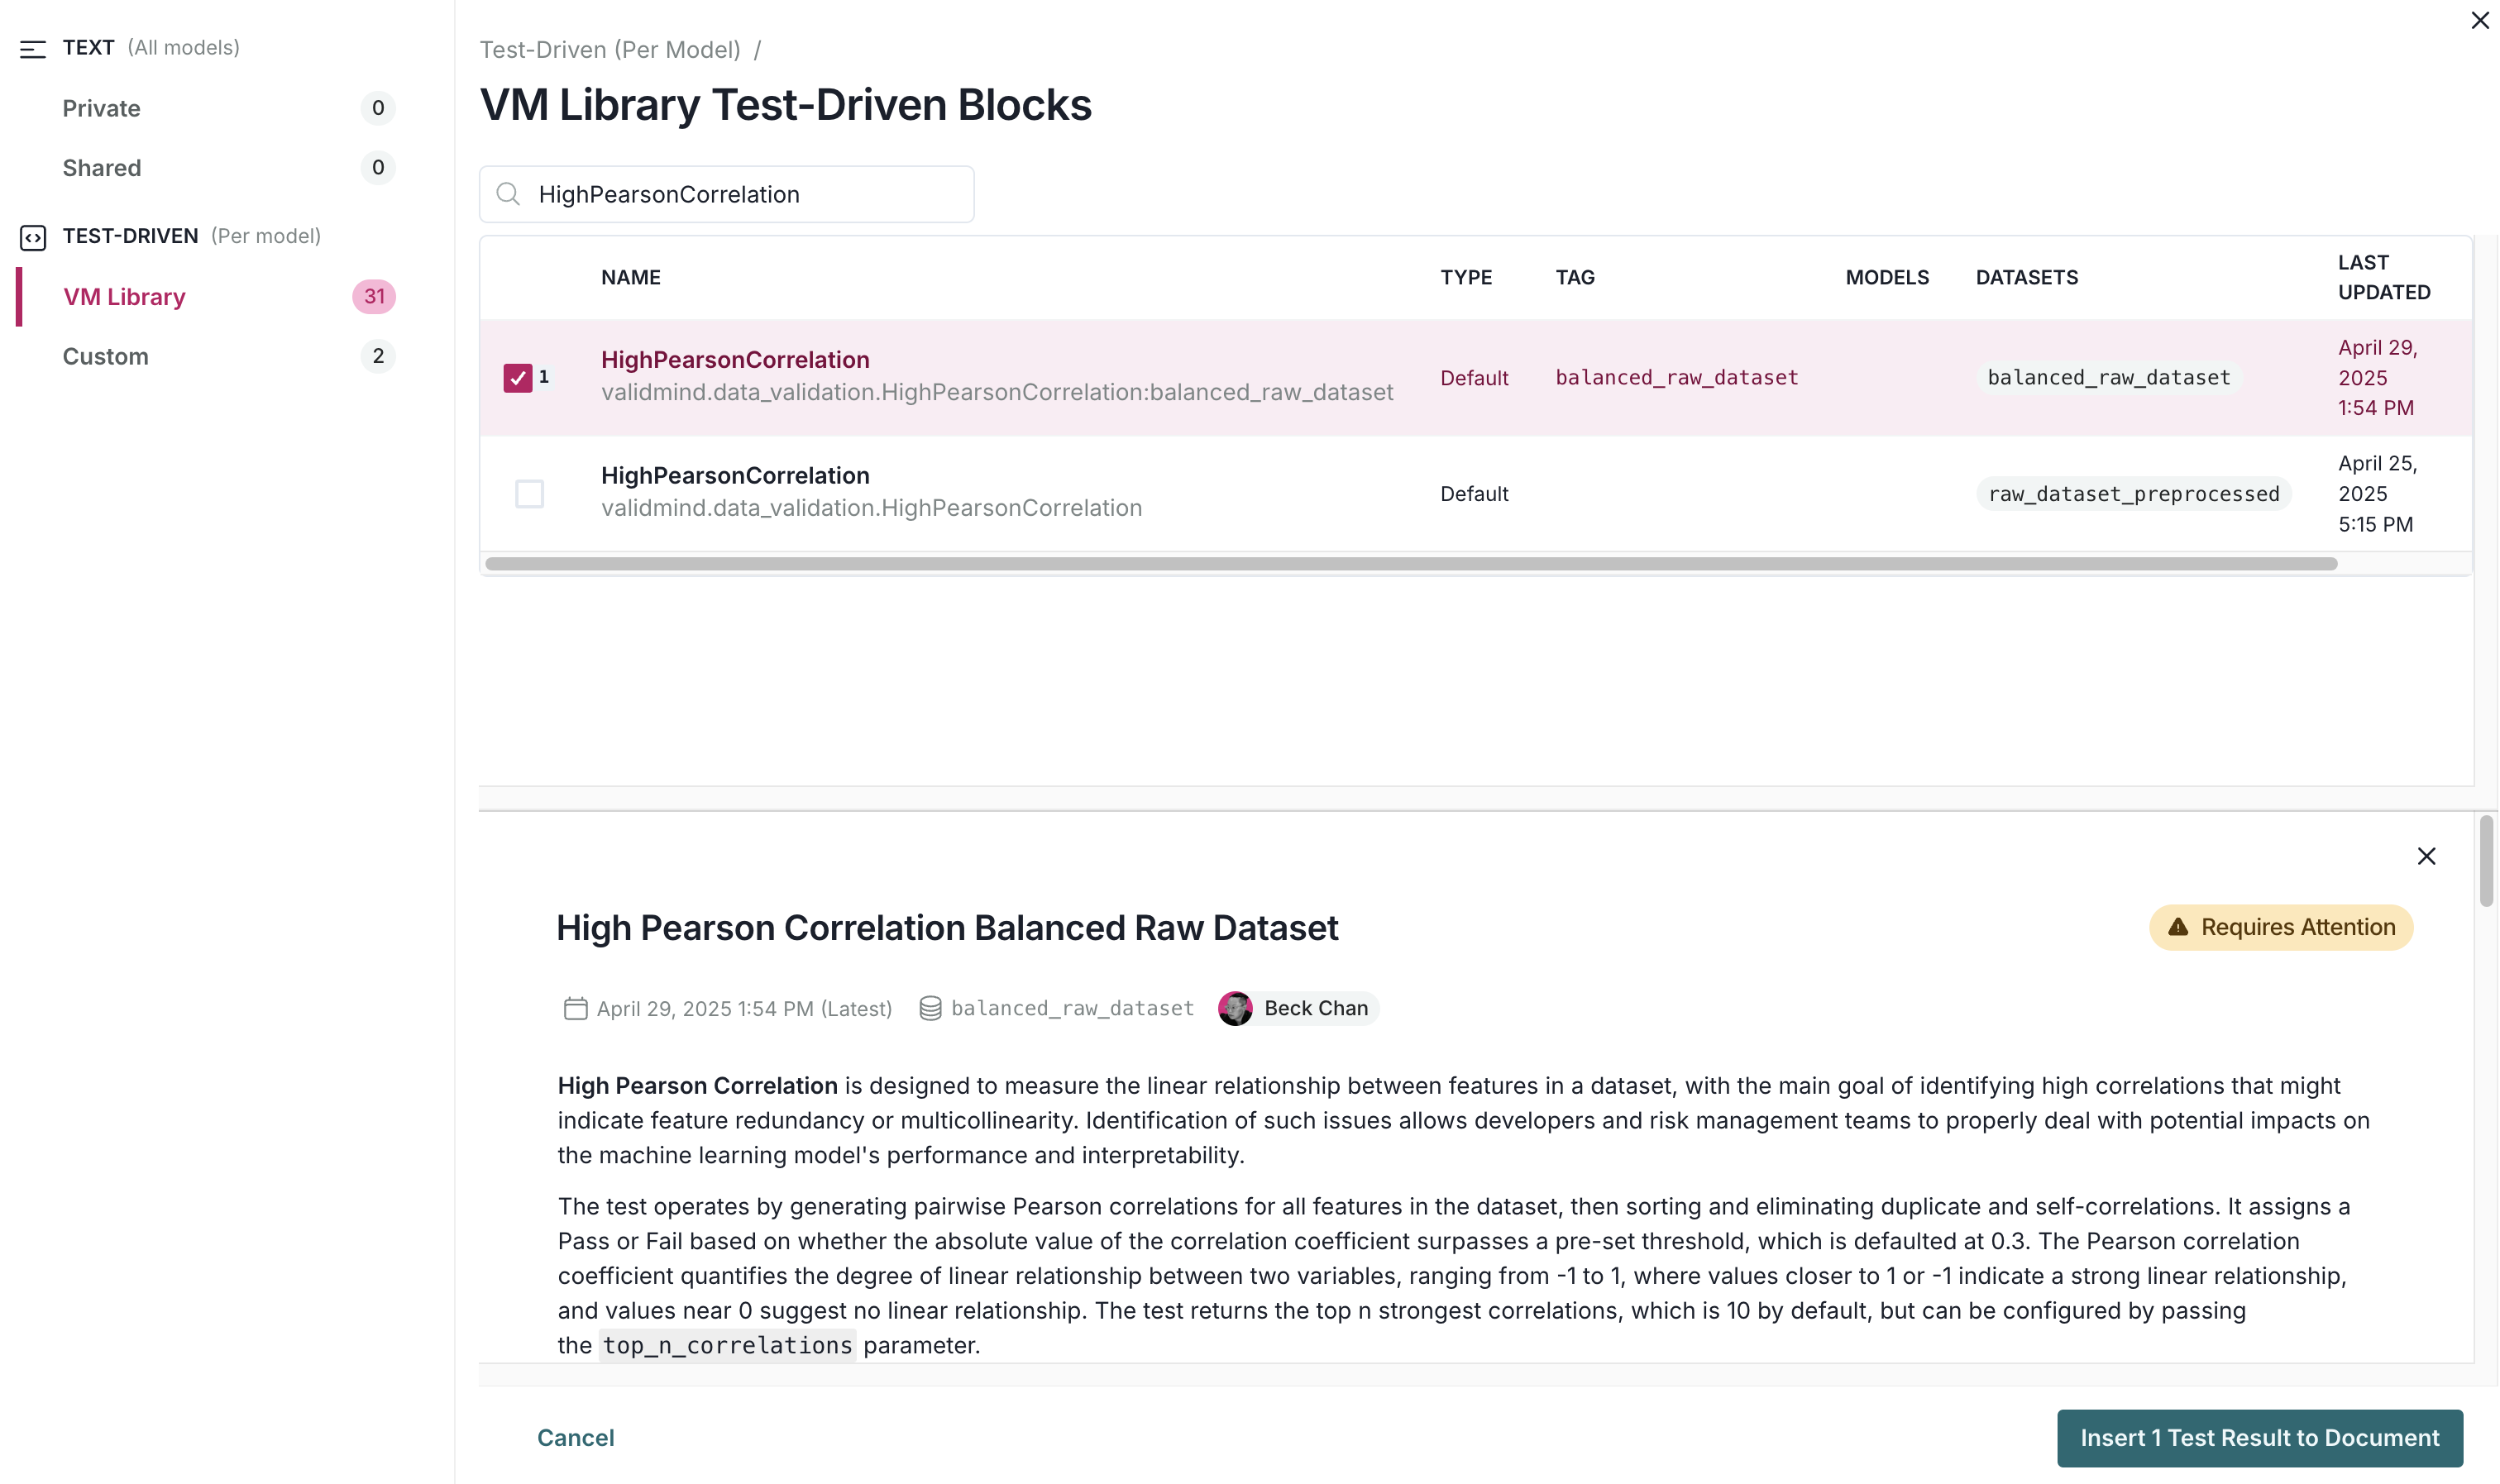
Test-driven blocks that have been selected for insertion To preview what is included in a test, click on it. By default, the actively selected test is reviewed.
Click Insert # Test Results to Document when you are ready.
After inserting the results into your document, click on the text to make changes or add comments,7 or configure what is displayed on the test result.8
Configure test result displays
Once added to your model documentation, validation reports, and ongoing monitoring reports, configure how the logged test results are displayed:
Locate the test result whose display you want to configure, and hover over it until the result block’s toolbar appears in the top right-hand corner.
Select Configure and toggle the following options on or off as desired:9
- hide title — Title
- hide text — Description
- hide parameters — Parameters
- hide tables — Tables
- hide figures — Figures
View test result metadata
After you have added a test result to your document, you can view the following information attached to the result:
- History of values for the result
- What users wrote those results
- Relevant inputs associated with the result
In the left sidebar, click Inventory.
Select a model by clicking on it or find your model by applying a filter or searching for it.10
In the left sidebar that appears for your model, under Documents and select Documentation, Validation Report, or Ongoing Monitoring.11
Locate the test result whose metadata you want to view.
Hover over the test result until the top-right hand corner menu appears and select See Timeline:
- The Active (most recent) test result is highlighted.
- On the test result timeline, click on the associated with a test run to expand for details, such as Model Information or Dataset Information.
When you are done, you can either click Cancel or to close the metadata menu.
Filter historical test results
By default, test result metadata are sorted by date run in descending order. The latest result is automatically indicated as Active.
To narrow down test runs, you can apply some filters:
On the detail expansion for test result metadata, click Filter.
On the Select Your Filters dialog that opens, enter your filtering criteria for:
- Date range
- Model
- Dataset
- Run by
Click Apply Filters.
Filters can be removed from the list of test result metadata by clicking on the next to them.